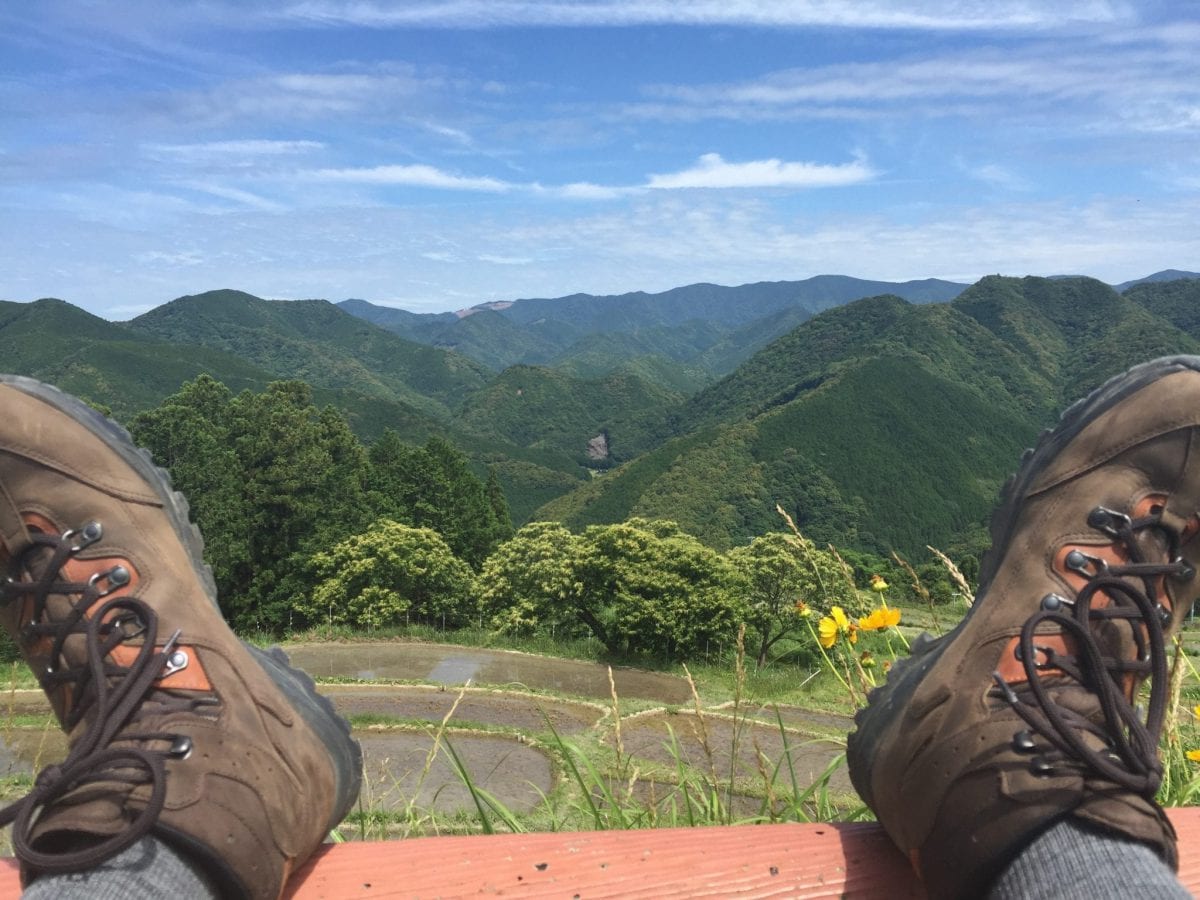
In June 2016, I set out for my Kumano Kudo solo hike of Nakahechi and Hongu area to Kumano Nachi Taisha – here’s my planning and preparation for my Kumano Kodo solo hike.
Planning your Kumano Kodo solo hike
Without a doubt, the best start for planning your Kumano Kodo trip is the site of the local tourism office in Tanabe. Tanabe is a common starting point for hikers of the Nakahechi part and both the site and the team behind it are superb. The site has an extensive list of maps, tips and accommodations. In my personal experience, the team is extremely fast, pro-active and caring in their responses and will help you the best they can (they checked on me and my plans to make sure I would arrive before dark at my ryokan; you don’t want to get stuck in the hills in the dark).
Deciding on the specific route of your Kumano Kodo solo hike
There are several options to experience the route: e.g. you can walk parts of the route, you can have your luggage transferred from ryokan to ryokan, you can walk one stretch in multiple days and you can walk multiple stretches in one day. Also, you will need to decide on which trail you are going to walk as Kumano Kodo is a set of the different pilgrimage routes, that all lead to the Hongu area.
During my Kumano Kodo solo hike, I met several people who each had their own plan: a French girl who walked for two days and camped in Tsugizakura, an Australian couple who did a self-guided tour, hiked parts of the trail and got their luggage delivered and a couple of elderly Japanese hikers who had brought all their gear and hiked from ryokan to ryokan but had decided to skip parts of the route because of rain.
I decided to take all my gear with me (approx 15kg in my 60l bag) and hike the Nakahechi route (Nakahechi and Hongu area to Kumano Nachi Taisha) in three days:
- Day 1: Takijiri to Tsugizakura: Takijiri-oji to Tsugizakura-oji, spend the night near Tsugizakura-oji (Nonaka Sanso);
- Day 2: Tsugizakura to Yunomine: Tsugizakura-oji to Hongu, connecting stretch Hongu – Yunomine (Dainichi-goe), spend the night in Yunomine;
- Day 3: Ukegawa to Nachisan: Combining two stretches: Ukegawa to Koguchi (Kogumotori-goe) and Koguchi to Nachisan (Ogumotori-goe). Note: this combines two stretches (normally two days) into one day. This is pretty tough and is definitely not recommended.
Alternatives I considered (and also prepared in case of injury/lack of motivation):
- Day 3: Boat over the Kumano-gawa river from Kumano Hongu Taisha in Hongu toKumano Hayatama Taisha in Shingu. Many pilgrims actually did this to visit the Hayatama Taisha in Shingu;
- Day 3: skip the Ukegawa to Koguchi stretch and only walk Koguchi to Nachisan.
Getting there
The easiest way to get to the trail for your Kumano Kodo solo hike is by train. There runs a direct train from Shin-Osaka to Tanabe (takes you approximately 2,5 hours). From Tanabe you can get the bus to the trailhead at Takijiri. On your way back, there is a direct train from Nachi or Katsuura back to Shin-Osaka. Shin-Osaka connect you with pretty much the rest of the world; Kyoto, Haneda airport and/or Tokyo via Shinkansen.
Tip: sit on the right side of the train, so you get the best views. There are even ‘panorama lounges’ in the train the have the seats turned to the windows to get an even better view.
Staying during your Kumano Kodo solo hike
I stayed in Miyoshiya Ryokan (Tanabe), Minshuku Nonaka Sanso (close to Tsugizakura), Yoshinoya Ryokan (Yunomine) and on the final day of hiking I took the train from Katsuura to Osaka (4 hours) to sleep in Osaka. I considered staying the night at Katsuura but although it was low-season, the hotels there asked insane amounts of money (200 euro plus for one night including dinner).
These are just suggestions. Based on availability, the exact route you’re going to hike you’ll have other options. The Tanabe Tourism Office has multiple pages on lodging/accomodations. I usually try and book via Booking.com, but in this case that proved to be quite a hassle; most accomodations are not listed and Booking.com is quite generous in suggesting places to sleep (sleep in Tanabe village when you hiked to Hongu and plan to hike more the next day does not make much sense).
Packing for my Kumano Kodo solo hike
Some things that might help in packing for your Kumano Kodo solo hike:
- Pack for the weather: On the three days I wore short and shirt, long pants and sweater and all possible combinations of these. The first day was extremely hot, the second day was rainy and hot so I was constantly struggling to keep dry while not overheating and the last day was extremely windy on top the hills so I had to constantly take my sweater of and off. In other words: think carefully what kind of clothing you will need.
- Pack light (1): Really think hard and well on what you’ll take with you. If you don’t need it, please don’t. You’ll regret dragging and extra empty bottle, sweater, pants or camera that you don’t need (as I did);
- Pack light (2): Depending on your plans, try to leave as much gear behind as possible. I dropped a large suitcase with my non-hiking clothes and other stuff at the luggage storage at Shin-Osaka station on my way to Tanabe and picked it up on the way back. This proved to be a smart but expensive move (420¥ per day per piece of luggage). Next time, I will drop it at the hotel I will stay after my hike or send it via postal service (I have heard it is quite cheap to send large items).
- Decent walking shoes: Quite some parts of the trail consist of old roads and steps built with large rocks. They tend to be extremely slippery uphill but especially downhill. You’ll probably slip several times with your sturdy hiking shoes, you’re definitely going to slip with your fancy sneakers or running shoes;
- Walking stick: No need to buy one, as on most of the trailheads you will find buckets with walking sticks you can use (how cool is that?!). I normally hate walking sticks, but I was extremely happy I got one from the owner of the ryokan in Nonaka Sanso. It proved of extreme value in the last two days.
- Camelbak: You don’t need to have a Camelbak (or similar system) but it makes life so much easier. You can drink on-the-go and don’t have to get a bottle out of your bag everytime you want to drink.
- Backup food: I brought some extra power bars, power gels and some sausage-based Dutch snacks. They’re all in my belly. Nuff said.
- Extra battery pack for your phone.
- Charging cables/adapters for Japanese power sockets.
- Cash money: you will be travelling through small villages that not always have ATMs. Be sure to pack enough cash money to pay for the bus (they’re surprisingly pricey imho), to buy extra water or other fluids (stock pieces of 10¥ and 100¥ as most bottles/cans cost 130-160¥)
- An extra pair of shoes: depending on your stay, you might want to go out (for example, to go to the Yunomine Onsen). It s*cks to do this in your hiking shoes, so you might want to bring an extra pair. I brought my Teva sandals.
- Route maps: you can find routemaps on the site of the local tourism office in Tanabe and can get printed ones at many different points before and during your hike (tourism offices, trailheads, ryokans). I personally downloaded pdfs of the routes on my phone (and used them actually quite often);
- Depending on the day; food and water: Not every village you will pass has a supermarket and/or a supermarket that is open on the moment you’re there. Example: if you’re walking from Ukegawa to Koguchi and are in Hongu the day before, it might be smart to buy some lunch/extra food in Hongu, as Ukegawa has a pretty small and limited supermarket. Even more, not every village you pass has a vending machine to stock water. Example: the first 14 kilometer of the Tsugizakura-oji to Hongu stretch have no single vending machine, so be sure to stock water the day before.
Things you don’t need to pack:
- Toothbrush and toothpaste (depending on where you sleep): in all ryokans I stayed, they supplied a pre-packed set of toothbrush and toothpaste.
- Towels: as above.
- Slippers: as above.
Hiking the Kumano Kodo solo hike
- The route has very good signage throughout. Only in villages, the signage changes. It should not be too confusing; I personally only made one mistake, when leaving Hongu for Yunomine.
- Be sure to walk the first few hours in a normal pace you can sustain for several hours (and/or days); it helps you to calibrate your timing with the timing on the Kumano Kodo route maps. The Kumano Kodo maps show two times: one how the pilgrims would walk it (with even specific hours of the day) and one without the pilgrim-rest stops. Most hikers will have a hybrid: not following the exact pilgrim-timings, but having some extra stops to collect the stamps along the route. Most important is to make sure you are in your ryokan before dark.
Got additional tips? Please let me know in the comments or via Facebook/Twitter.

3 comments