One of the perks of multi-day hikes is camping in the most amazing places. Being safe and warm at night is one of the most critical things on multi-day hikes (besides food of course). So here’s my routine for setting up my tent.
Table of Contents

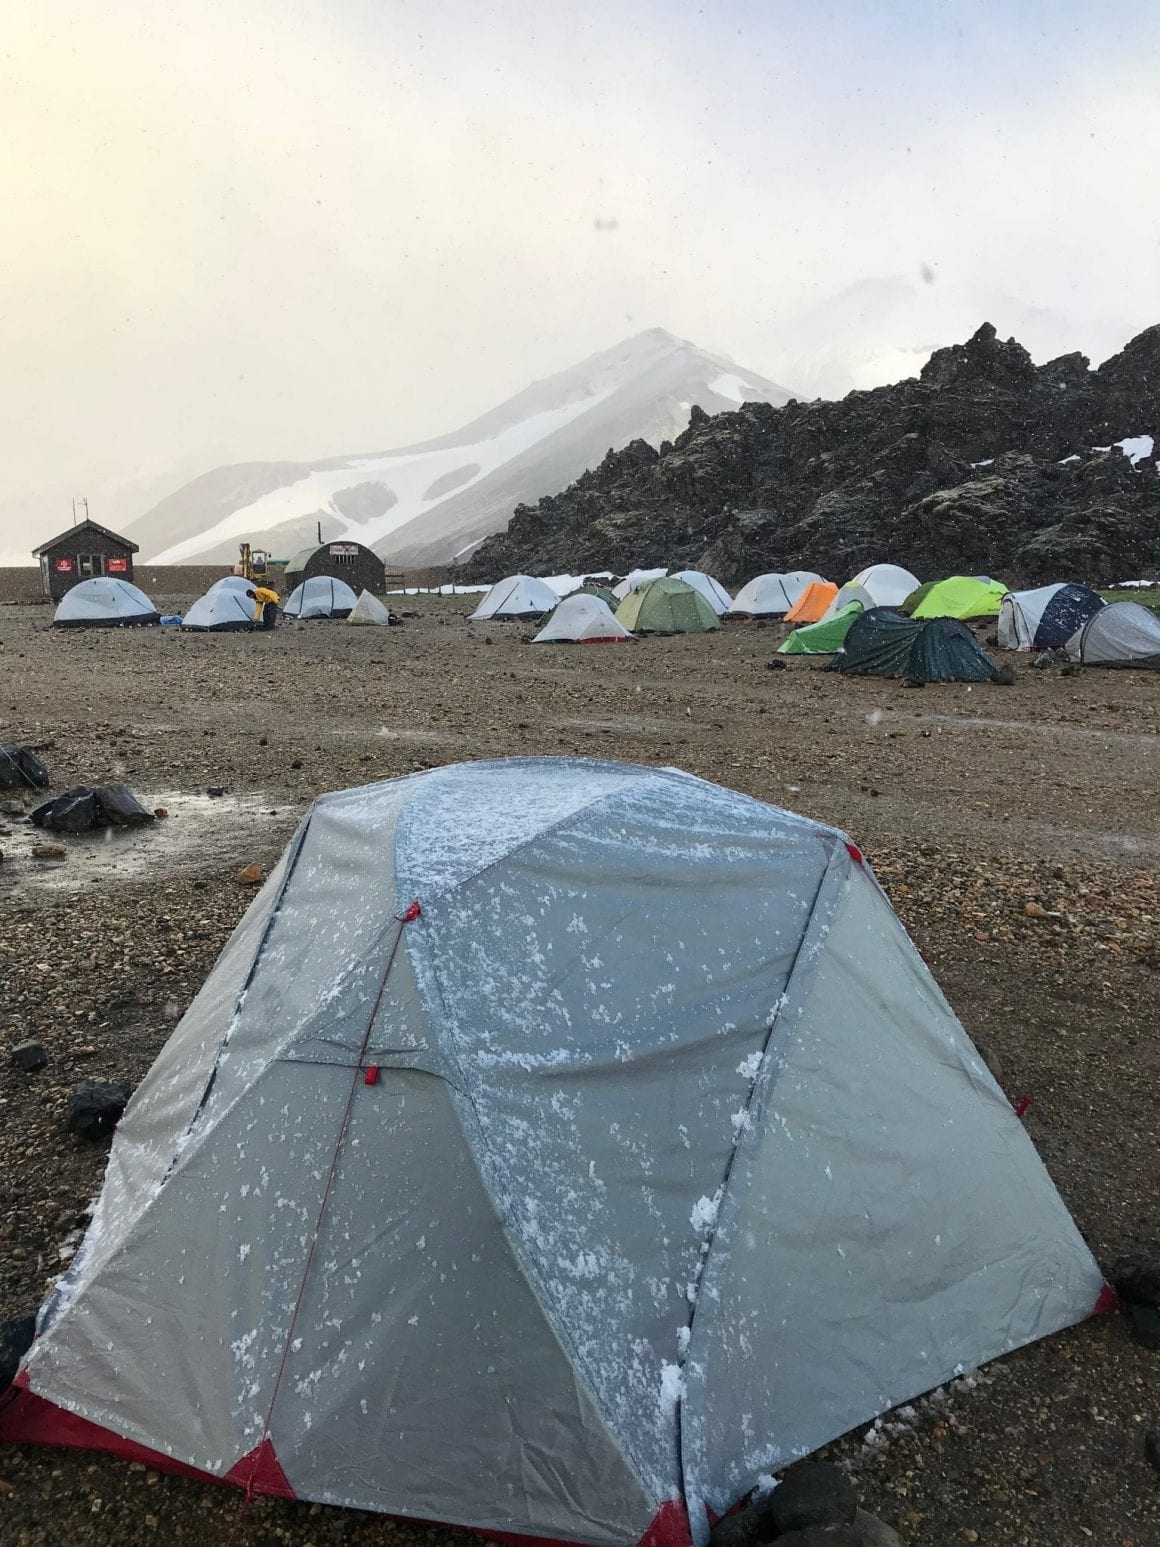
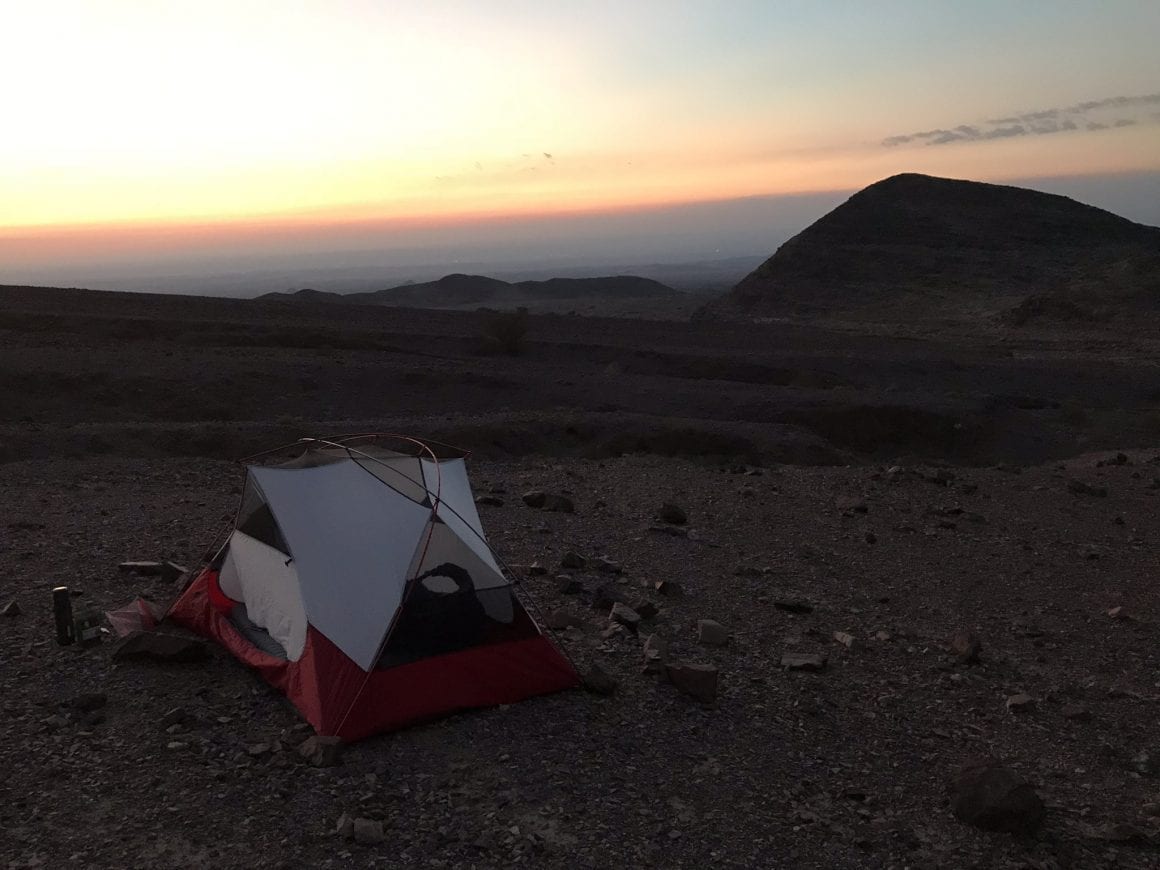
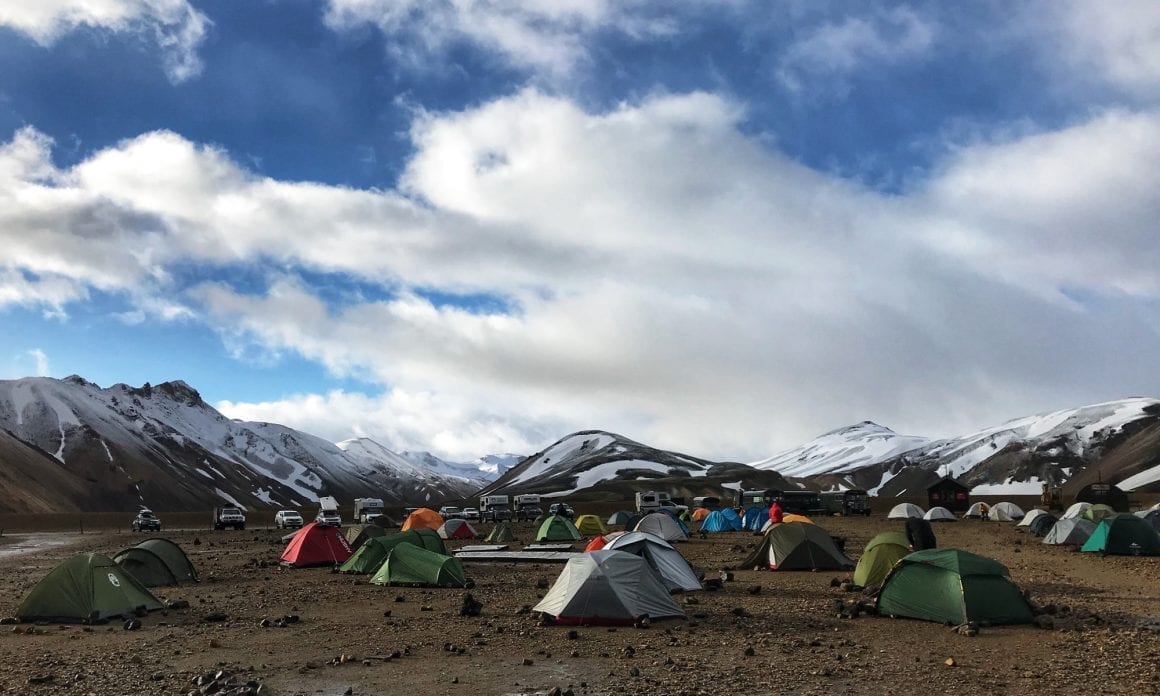
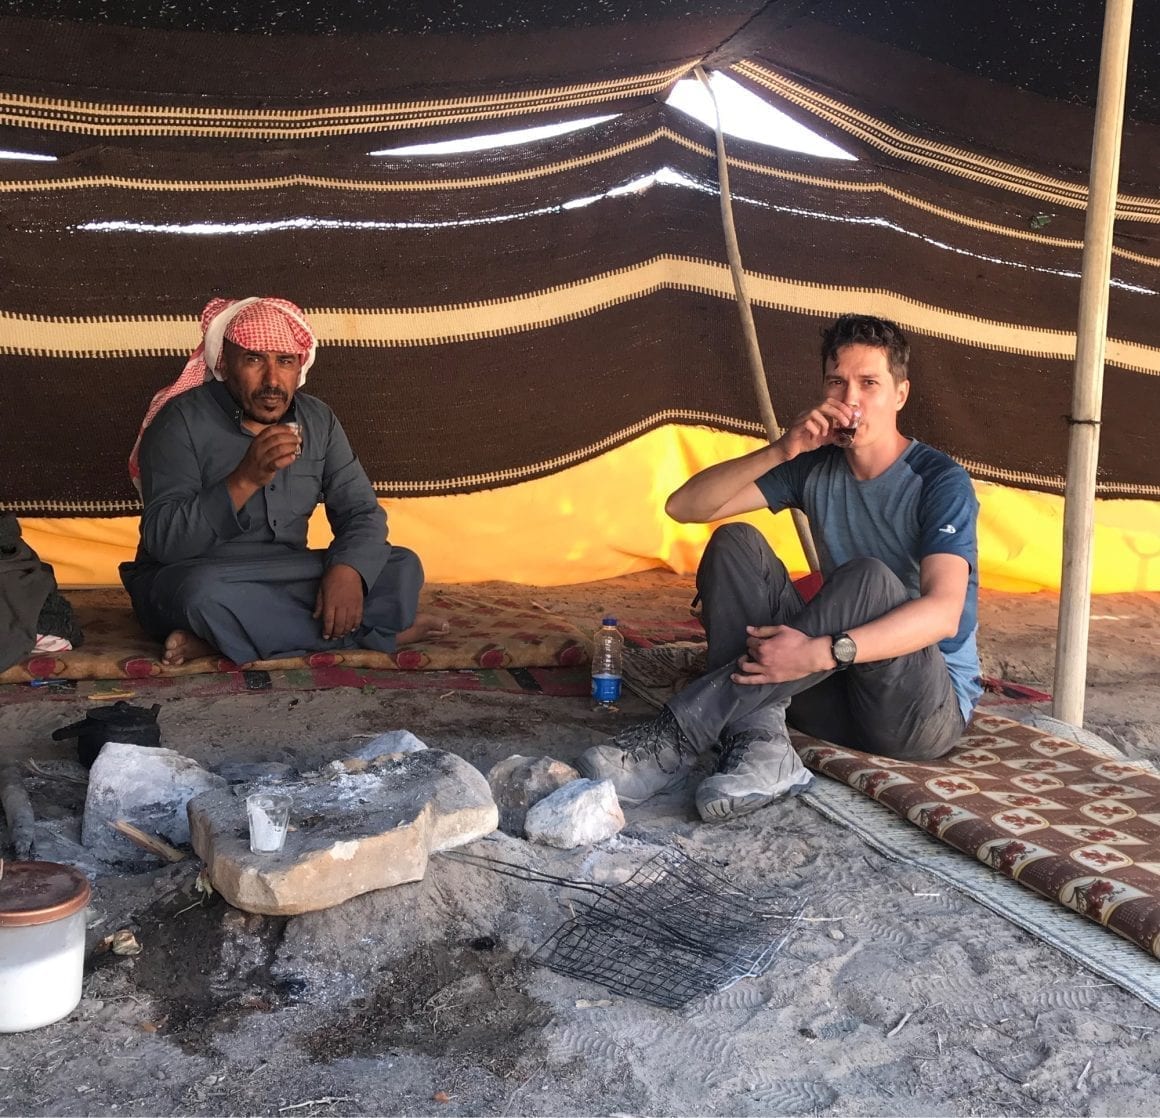
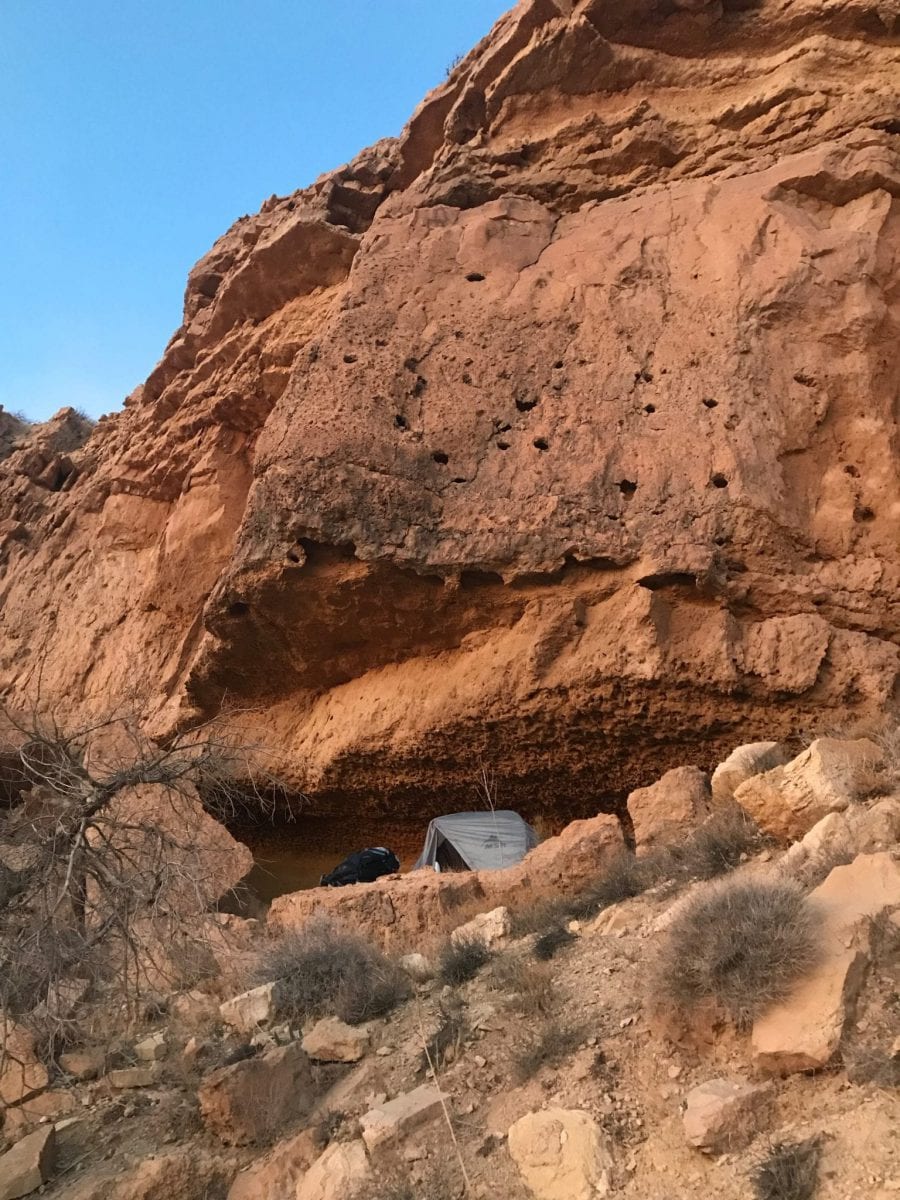
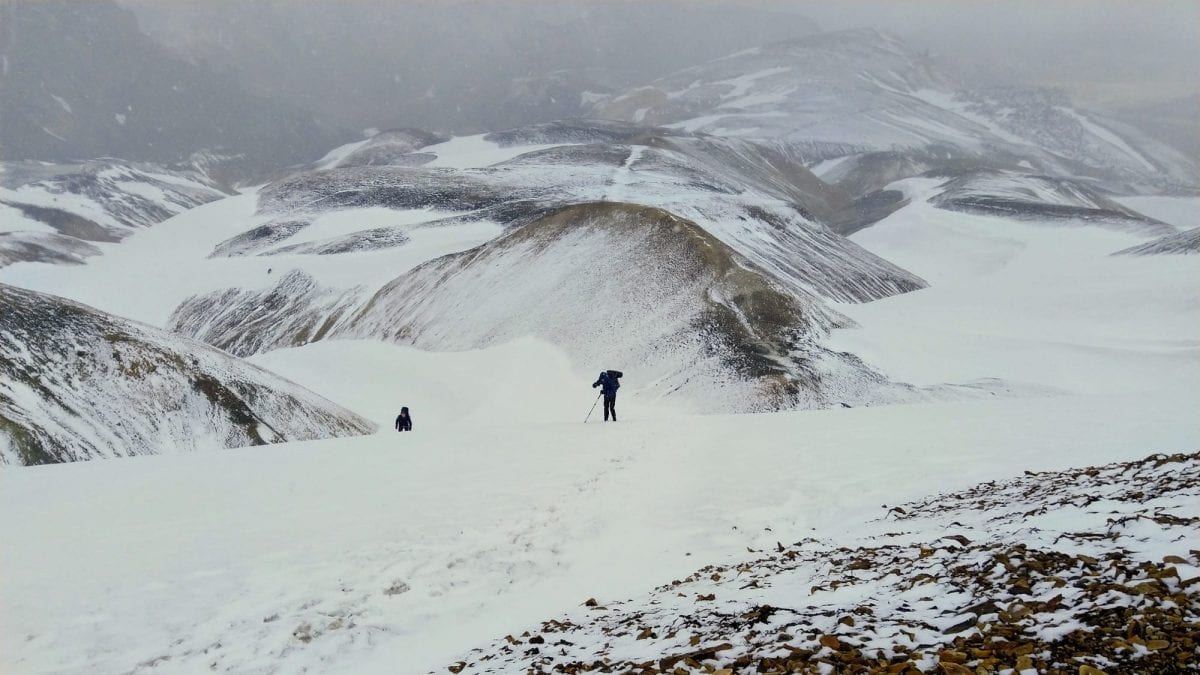
Frozen tent at Laugavegur trail Camping at the end of day 1 on the Jordan Trail Camping at Landmannalaugar Jordan Trail – tea with Faris Spending the night on the Jordan Trail

I am not the most experienced camper. I have camped in different parts of the world under different circumstances, but certainly won’t describe myself as a camping expert or pro camper. Despite that, I have a list of precautions and rules I follow to set up my tent safely and comfortably.
0) Be well-prepared.
Before you hit the trail, set your tent up at home: Home offers a low-stress environment for you to master the pitching process for a new tent (and it is a great way to involve your kids as well – my daughter loves camping in our garden). The worst time for learning is after you’ve finished a long day of hiking, the sun has set and the rain is coming down sideways.
Read the instructions carefully and inventory the parts: Reading instructions, rather than grabbing things and winging it, is a great way to prevent confusion and damage to tent parts. And if a piece is missing, you’ve built in the time to get it before your trip. And don’t forget to pack along a copy of the instructions.
Decide on your footprint strategy: Though tent floors are heavy duty to stand up to water, abrasion and wear, the ground is a formidable foe. You can combat this problem by buying a footprint—a custom-sized ground sheet that offers an extra layer of protection.
1) Know where to camp.
A key thing in being safe and comfortable at night is knowing where you can safely and comfortably camp. Some countries or regions won’t allow wild camping for example and will only allow you to camp at designated areas, sometimes even only at paid camping spots (like the Laugavegur and Fimmvörðuháls in Iceland). Some camping areas (like between Dana and Petra in Jordan) won’t have water. Missing specific camping spots can sometimes mean you will have to walk another 10-15 kilometers, which might prove difficult at an end of a day with darkness falling.
When hiking the Laugavegur trail one of the campsites was closed because of heavy snowfall, which forced people to walk an extra 10 kilometers to the next camping spot (thanks to the brilliant service of Safetravel.is to warn us). Another reason to keep track of the weather (more on that later).
So knowing beforehand where you can camp is crucial.
2) Be in your camping spot in time.
What you probably want to avoid is setting up your tent in the dark or having to rush to find a safe place to stay. So make sure during the day that you track your progress so you make sure to arrive in camp in time and that you can take precautions if you suspect to fail to do so.
In Jordan, I made a grave navigational error which forced me to camp
3) Find a safe location.
This sounds easier as it seems as this includes some choices you’ll have to make concerning wind, rain and even potential animals.
Staying away from potential weather dangers
Staying in your home and/or hotel (
Coping with water and rain.
- Avoid camping in low areas between high areas, because cool, damp air settles here; rain can also channel through and pool when a storm blows in – this happens a lot off-season on the Jordan Trail – it is why I had to evacuate from the Petra area.
- To prevent rain from blowing in, orient doors away from the wind.
- Seek higher, drier ground so you have less moisture in the air to form condensation inside the tent as temperatures drop.
- Look for sites under trees because they create a warmer, more protected microclimate that will produce lower levels of condensation.
Coping with wind.
- Look for natural windbreaks: a stand of trees or a hill between you and the prevailing breeze.
- Avoid camping near damaged trees or limbs that can be blown down by a severe gust.
- Though many campers will orient a tent with the smaller side facing the wind for reduced resistance, it’s more important to place the side that has the strongest pole structure facing the wind.
- If you’re camping in a hot climate, orient a door toward the wind for cooling.
Staying away from potential nature dangers.
In some areas like
Same goes for camping in areas with large animals (African savanne, Canada) where you have to take specific precautions to protect your food from being spotted by bears or lions.
In lesser part, storing your food away from rats, foxes or other rodents may help have a more comfortable stay (for example on the GR20, there is much word on small animals intruding tents, looking for food).
Know this beforehand.
4) Find a comfortable location.
Find a location that is slightly sloped (so the water can pass your tent), and especially a location that is not in a hole (to avoid your tent drowning in water).
5) Prepare ground
Clear debris from your tent site: Your goal is to protect the tent floor and remove things that can poke you in the backside. This isn’t an excavation project, though: Pick another site if you feel like yours needs major work.
6) Setting up your tent
Laying down the footprint.
Footprints are sized smaller than your tent floor so they don’t catch and pool rainwater under your tent. If you make your own footprint, do the same. If you bring a full tarp, fold it under so that no part extends beyond the floor perimeter.
Stake down tent corners
If it’s windy: A strong wind can make laying out your tent feel more like flying a kite. Quickly stake down the corners at the outset; it’s a simple task to
Stakeout tactics:
- You’ll get maximum holding power in most types of
soil if the stake is fully vertical as you drive it into the ground. - Leave just enough stake exposed to allow you to slip a tie-down cord over it.
- If you can’t push the stake in with your hand or foot, you can use a large rock for this job; you can also pack a special stake hammer.
- Pack extra stakes in case some hidden rock pretzels one of yours.
Tension the fly
Master the art of fly tensioning: A well-pitched tent has a taut rainfly. Most
- During initial setup, don’t over-tension the first fly corner; wait instead until the fly is fully on and then tension all corners evenly.
- Check
tensioning by looking to see if seams on the fly line up with the seams and poles on the tent body; if not, readjust tension so that they are aligned. - Always re-check the rainfly tension after it gets wet because most fly material stretches when it gets damp.
Setting guylines.
Most tents come with guylines for extra stability in strong winds. You attach these to sturdy loops—guyout points—in strategic locations around the rainfly. You’ll find
At
For greater stability, add
- Tie a fixed knot to the guyout point, pull the guyline directly outward from the pole that’s under that guyout point, then loop the other end of the line over a stake that’s well away from the tent corner; tighten the guyline tensioner.
- If possible, also route the guyline perpendicular to the guyout point. If no tree limb is handy, use a trekking pole: Rig the guyline over the top of the pole, then down to a stake. This substantially increases tent strength.
7) In-tent routines
After a long day it is often tempting to just throw all your gear in your tent and worry about it the next day. Spending some time thinking about structuring the inside of your tent helps a lot:
- I try to keep the insides of my tent
well-organised . I use compression bags to keep clothes together (dirty clothes, clean clothes) as well as my food or electronics. - I keep my smelly clothes on the other end of the tent.
- I store the things I might need at night (water, light, phone) close to my head.
- I
organise things I’ll need the next day (clean socks, clothes) in one specific place. - I try and keep most of my items in my backpack (so they’re not littered around my tent).
So, what are your tips and tricks to safely and comfortably set up your tent?


1 comment