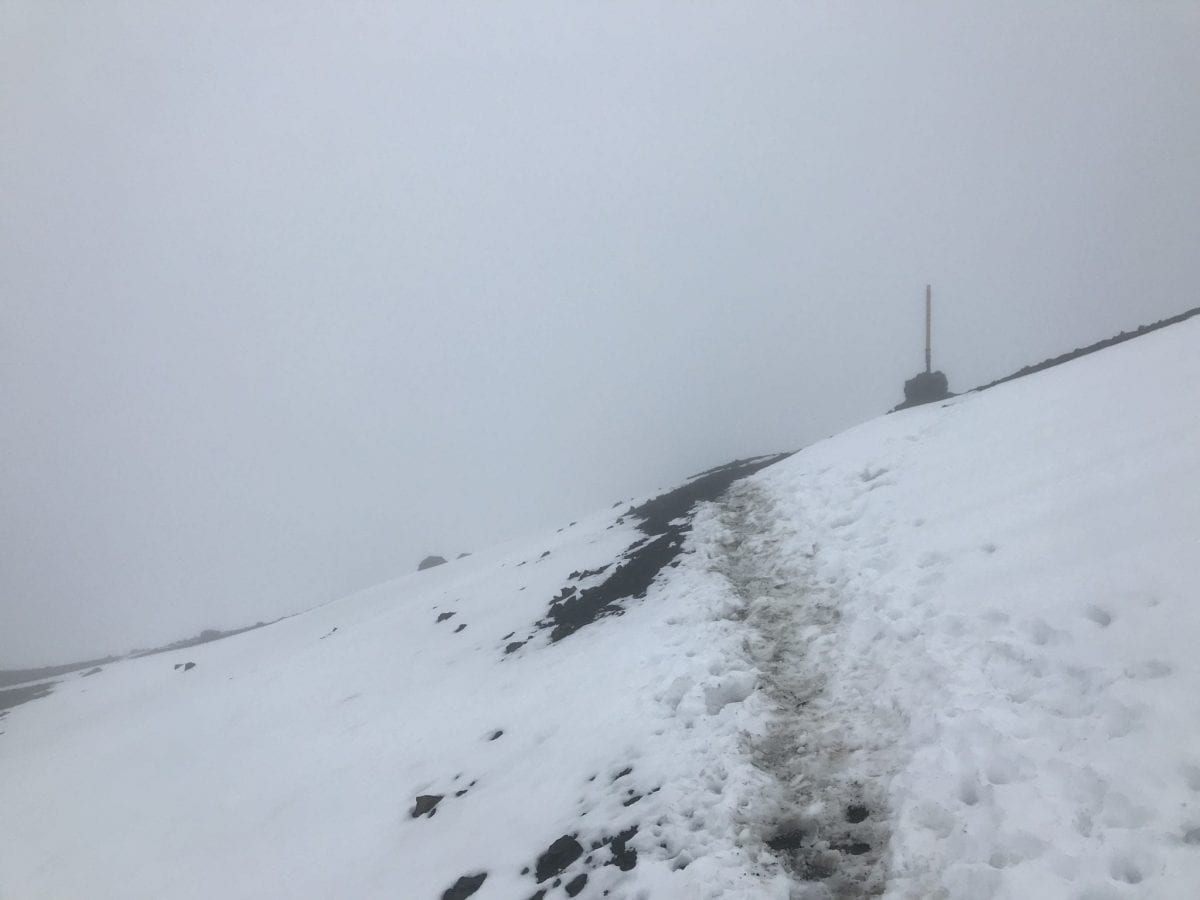
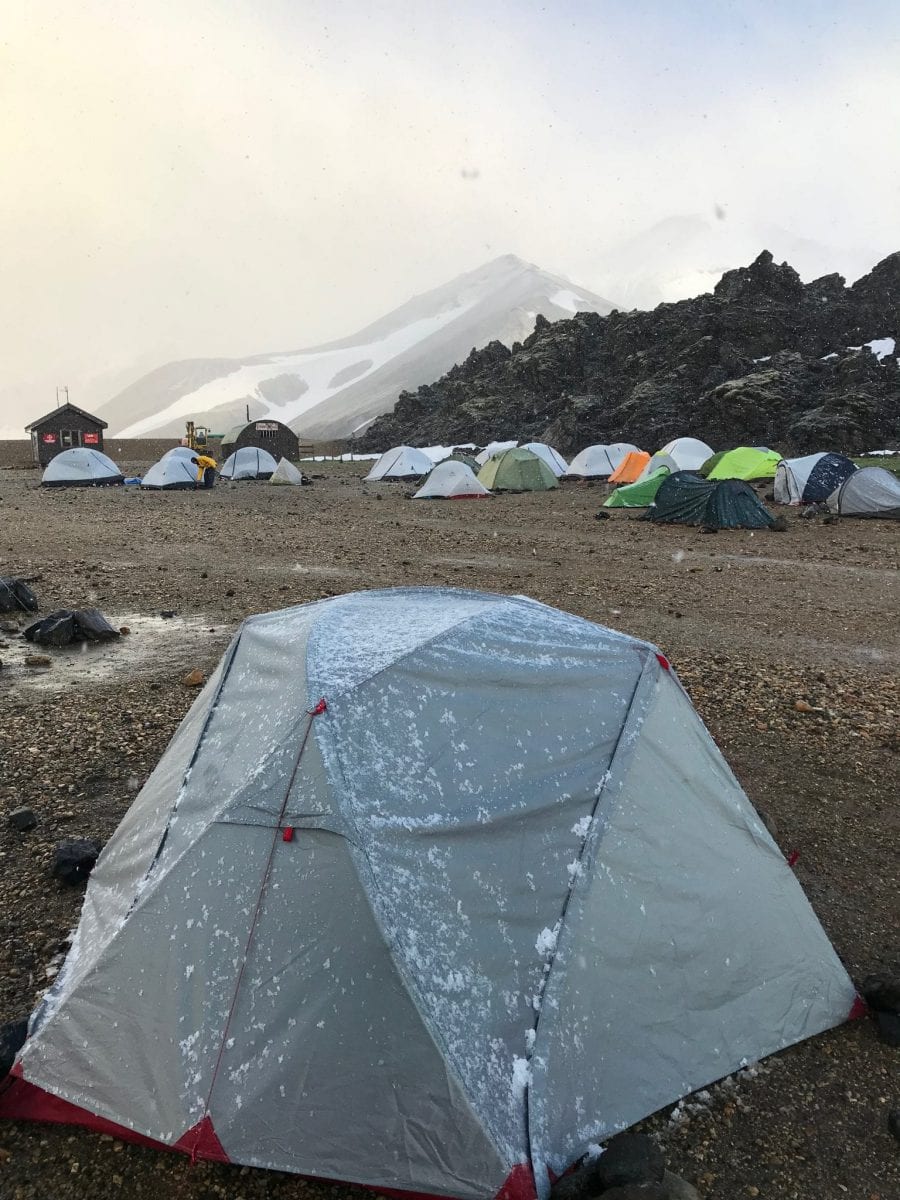
I learned the hard way during my Fimmvörðuháls hike in Iceland that a reliable GPS device is always a good idea. I almost got lost hopelessly lost in a snow storm. Which is just not that pleasant. To avoid that from happening in the future, I decided to buy a dedicated Garmin 64s. But still, for more occasional hiking and as a back-up device I wanted to prepare my iPhone for GPS navigation. So here is how I prepared my iPhone for GPS navigation for the Jordan Trail.
Before I start …
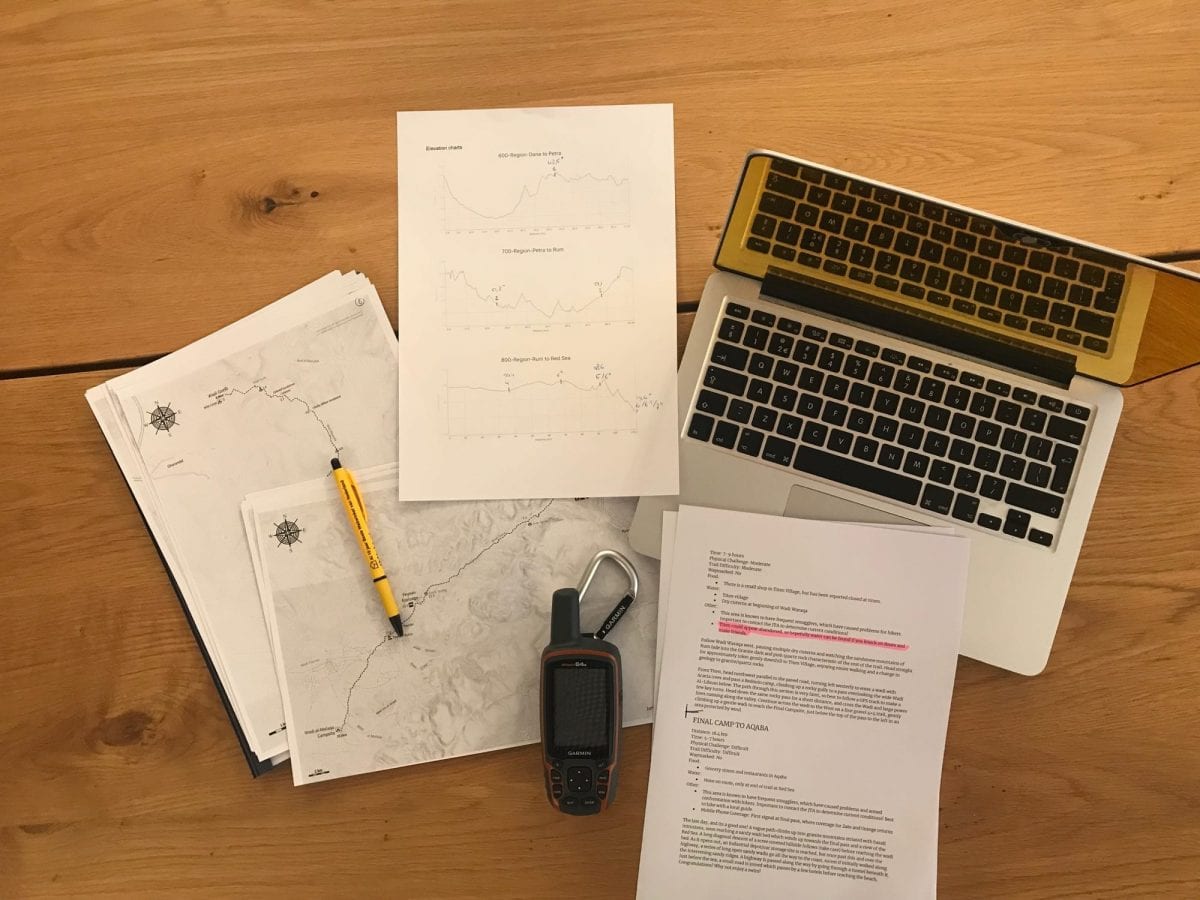
Having an iPhone with a GPS app is not a substitute for preparation. Prepare and be safe. Always be sure to study the trail, look for challenges and difficulties. Know if you can rely on a data connection, know if there is support of other signage on the trail or if you need – in case for the Arctic Circle Trail or Jordan Trail – just are 100% sure you need an offline version of your map to navigate.
One. Get a GPS app for GPS Navigation on your iPhone.
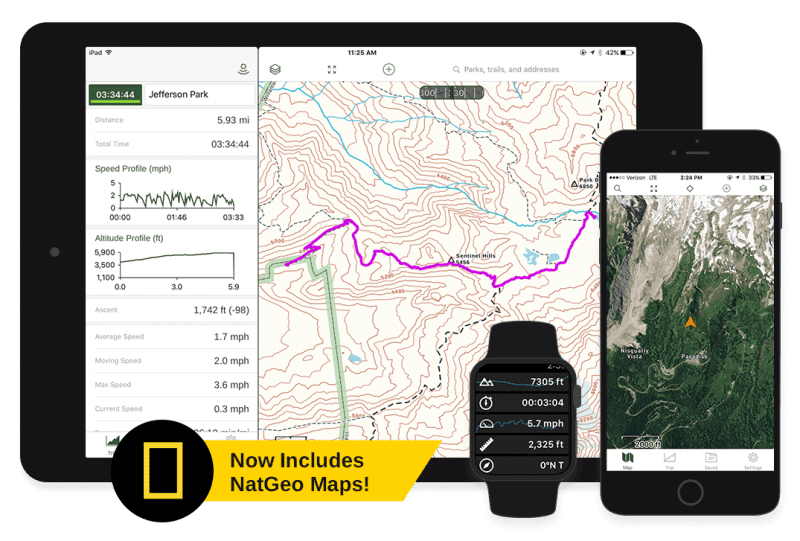
There are several reliable GPS apps for hiking of which Topo Maps+ and Gaia GPS are the most popular. I decided to go for Gaia GPS for no particular reason.
Two. Find and download the GPX files for GPS Navigation on your iPhone.
GPX, or GPS Exchange Format, is file format (pretty much like you would have .jpg images or .docx text documents) that store location information (in contrast to visual information or text). It can be used to describe waypoints, tracks, and routes. Location data (and optionally elevation, time, and other information) is stored in tags and can be interchanged between GPS devices and software.
The internet is an amazing place for soooo many reasons and the fact that you can find detailed maps of your favorite hikes is one of them.
- Usually just Googling “GPX” with the name of the trail with it works in finding the files you need (for example “GPX Jordan Trail“).
- Platforms like OpenStreetMap often have a lot of maps for download.
- More and more, the popular trails will have their trail organization websites with reliable maps. In my case, for the Jordan Trail, the Jordan Trail Association has a dedicated page on their website with all the GPX files.
Download the GPS files (GPX) you need on your desktop computer first.
Three. Install the GPX files for GPS Navigation on your iPhone.
There are several ways to get the GPX file to your phone. Here are three options (email, iTunes and Dropbox), ending with my preferred one (but the most complex one): installing via Dropbox.
A small notes on these files GPX files: Gaia GPS has a file limit of 15 MB. Files over 15 MB should be split up into several files so that they can import into Gaia GPS.
Getting the GPX file on your phone via Email
- Email the GPX from your computer to yourself as an attachment
- Open that email from the Apple “mail” app on your iPhone
- Long-press the attachment, and choose “Open In Gaia GPS” or “Copy to Gaia GPS”
Getting the GPX file on your phone via iTunes
This will only work with Apple iTunes version 6.4 or higher:
- Connect your device to your computer with a USB cable
- Open iTunes
- Select your device from the menu on the top of the iTunes window
- Select the Apps tab at the top of the screen
- Scroll down and select Gaia from the “File Sharing” app list at the bottom
- Drag the GPX files to the “Documents” section
Getting the GPX file on your phone via Dropbox
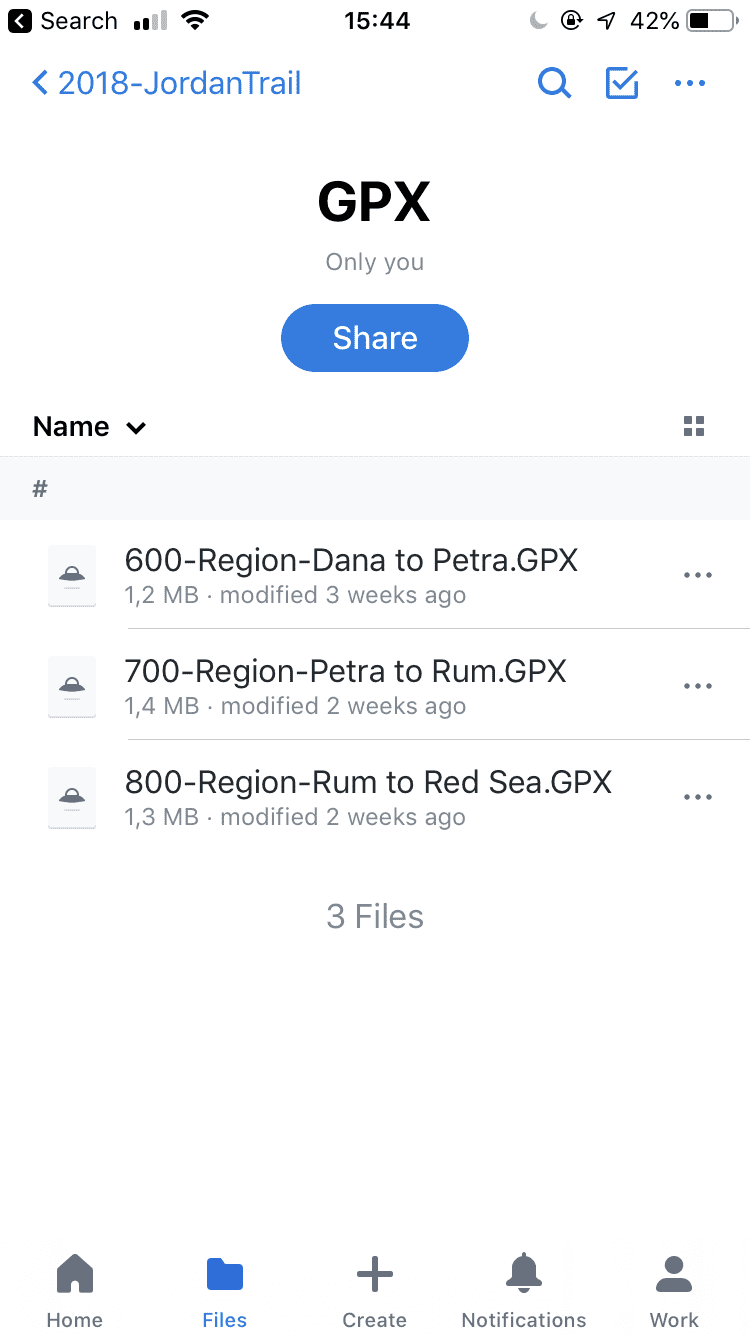
- Add the GPX file to your Dropbox folder on your computer
- (If you haven’t done this yet) Install the Dropbox app on your device
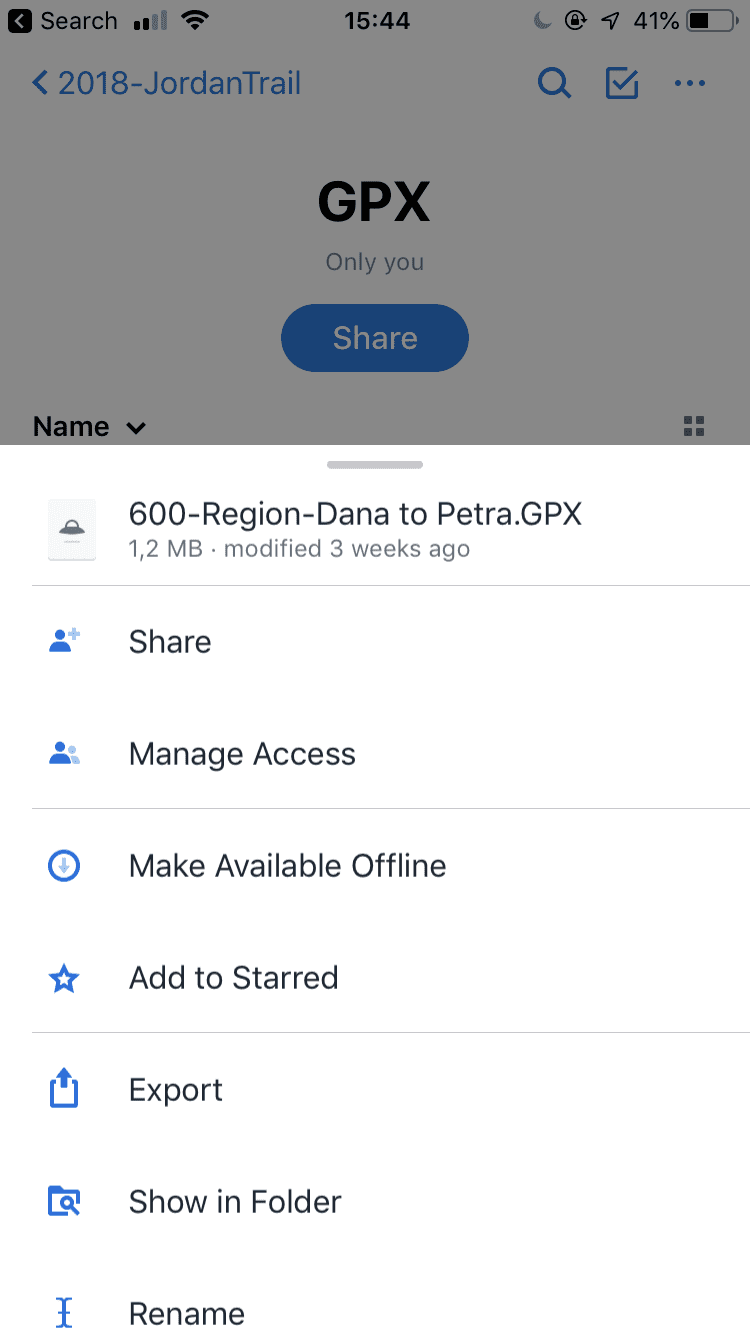
- Find and open the file from the Dropbox app.

GPS Navigation on your phone – GPX files in dropbox - Tap the dots more options and select “Export”

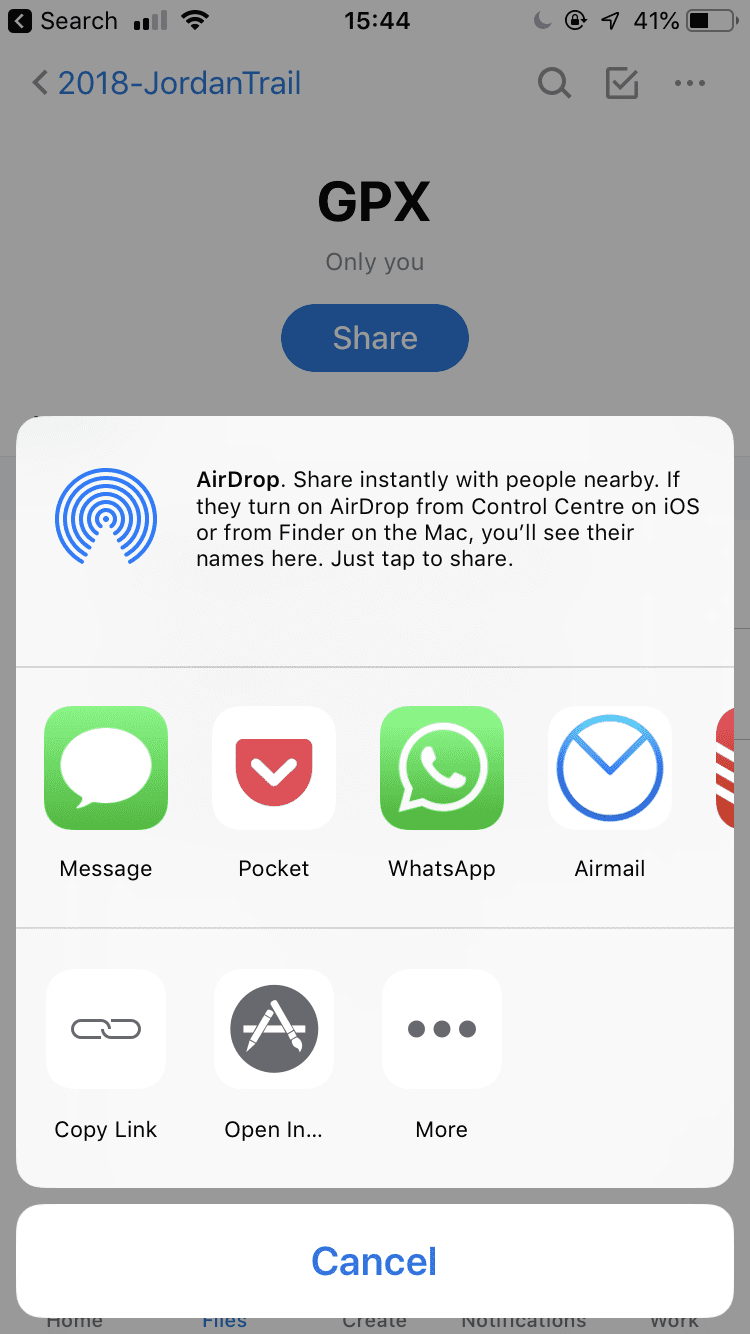
GPS Navigation on your phone – GPX files in dropbox - Select the “Open In…” option

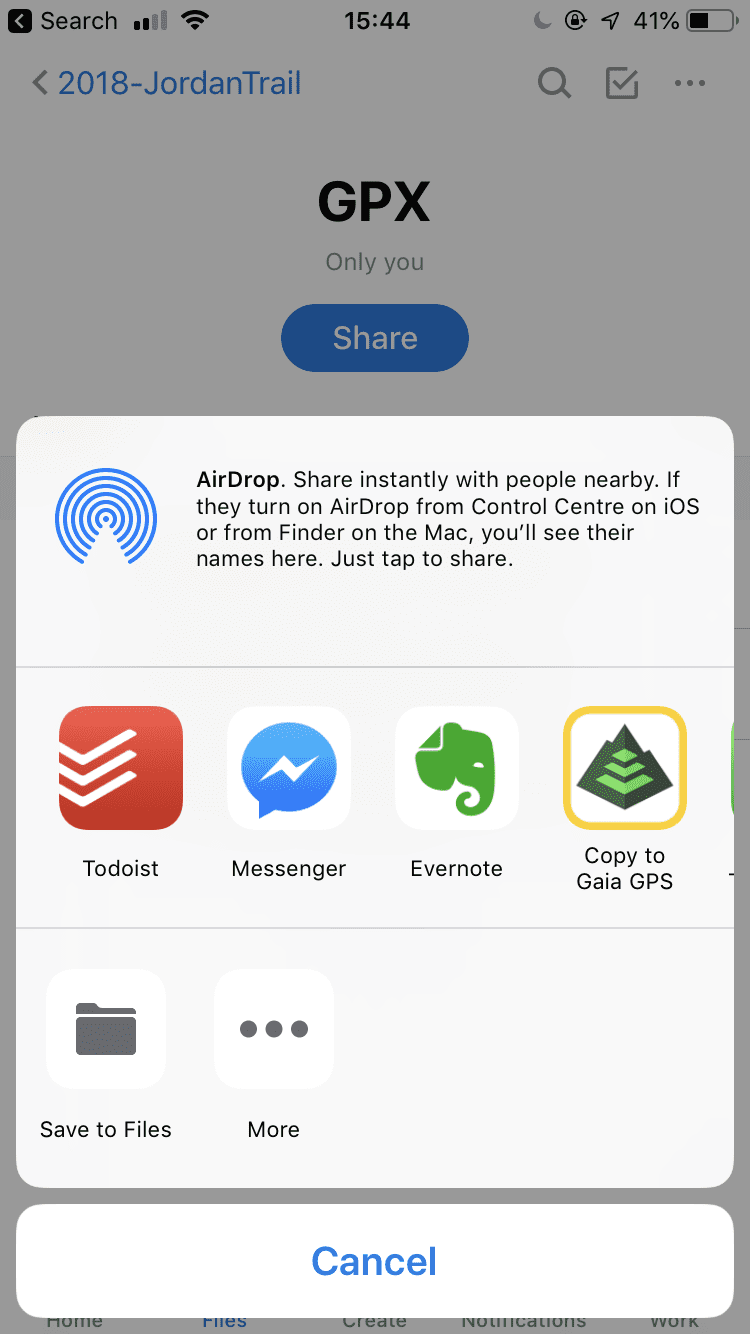
GPS Navigation on your phone – opening the GPX file - Select “Copy to Gaia GPS” on the next screen

GPS Navigation on your phone – selecting Gaia GPS - When completed a “Successfully Imported Track(s)” message will appear
- The file will be available in your saved folders. Whoohooo!

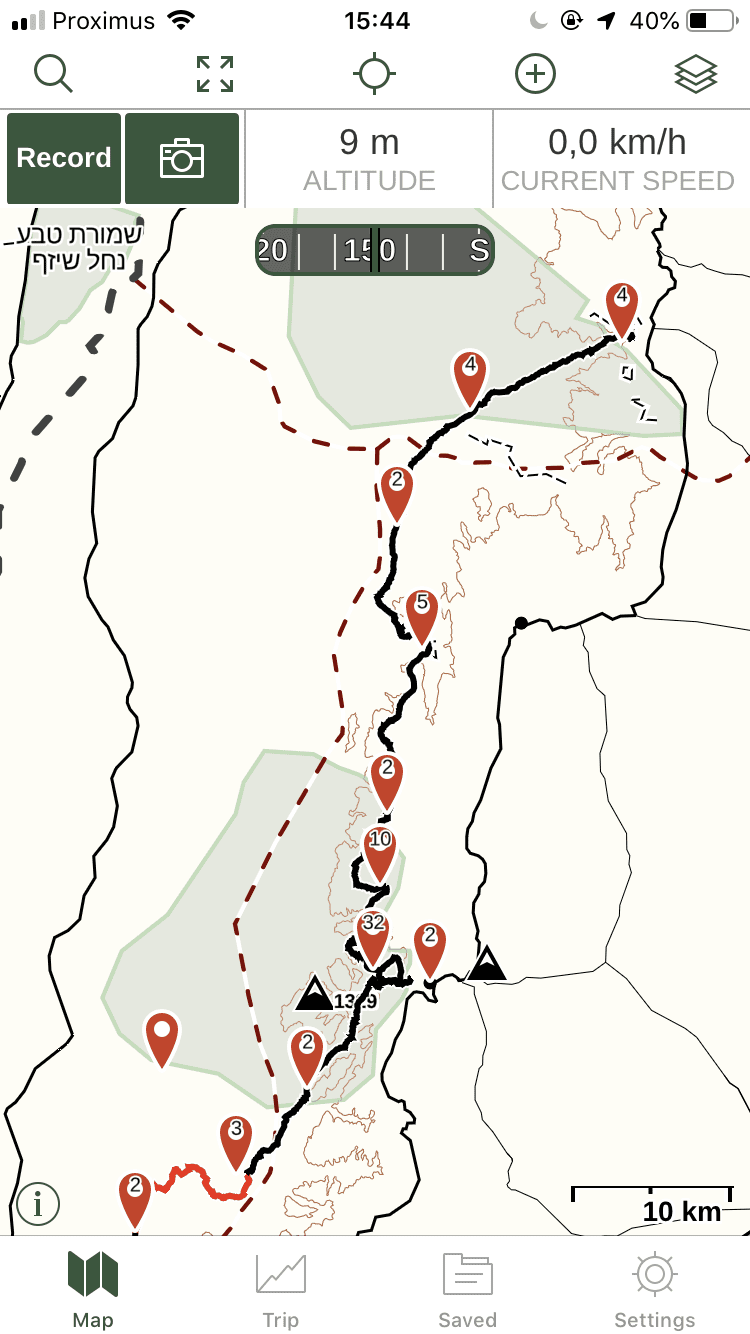
GPS Navigation on your phone – route in Gaia GPS
Four. Downloading maps for offline usage.
Ok, congratulations. You have downloaded the files.
To be safe, I always download the maps for offline usage as well. Internet connection on the trail isn’t always reliable, offline browsing saving precious battery time and sometimes you will experience larger parts of the trail without connectivity.
- Go to the maps overview

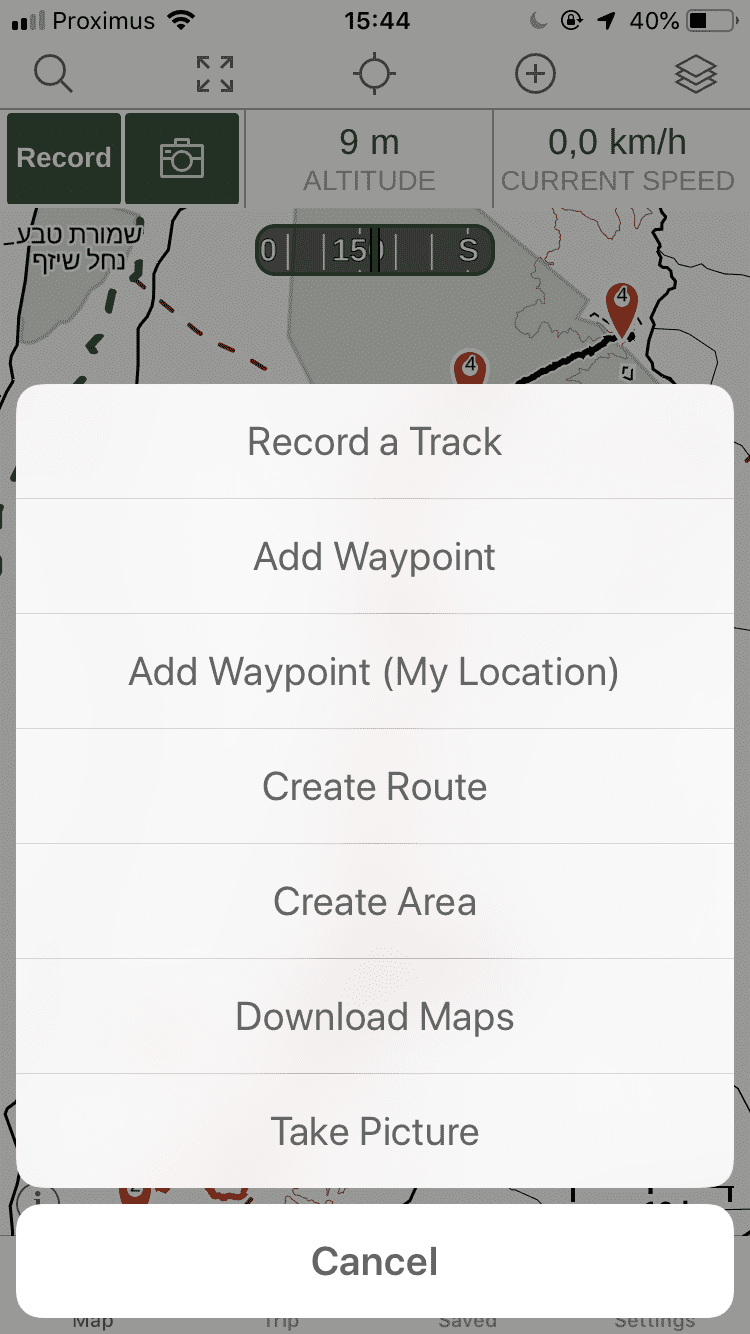
GPS Navigation on your phone – route in Gaia GPS - Press the cross signs and choose “Download maps”

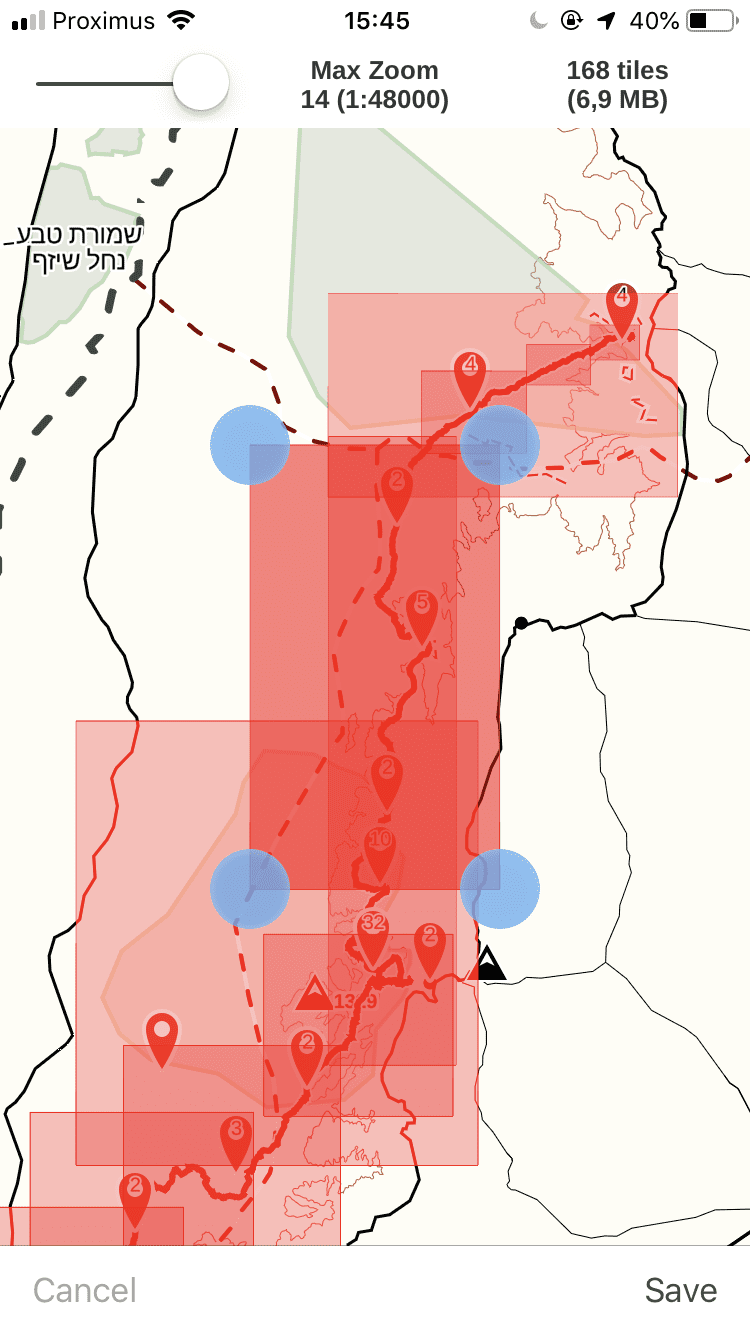
GPS Navigation on your phone – download maps for offline in Gaia GPS - Select the area you want to download for offline usage. Find the balance here between downloading enough (if you stray off trail you will need to find your way back) and not downloading too much, using up all the space on your phone.

GPS Navigation on your phone – offline maps in Gaia GPS
And you’re all set!
Five. Happy hiking!
Final step. Happy hiking!


8 comments